Benefits of Building a Guest Shed Now
October 12, 2020
Create a Side Hustle & Earn More Money
December 7, 2020Smoke Your Own Meat, Fish & Cheese
Building a backyard smokehouse is a great family DIY project this time of year. We want to expand your horizons on what you can smoke in your backyard smokehouse to include not only meat but fish and cheese also. There is nothing more delicious than cheese that has been smoked. Consider both gouda, cheddar, and mozzarella as good beginning projects for trying your skills at smoking cheese. You will be the hit of any holiday gathering with homemade smoked cheese, it is so delicious!
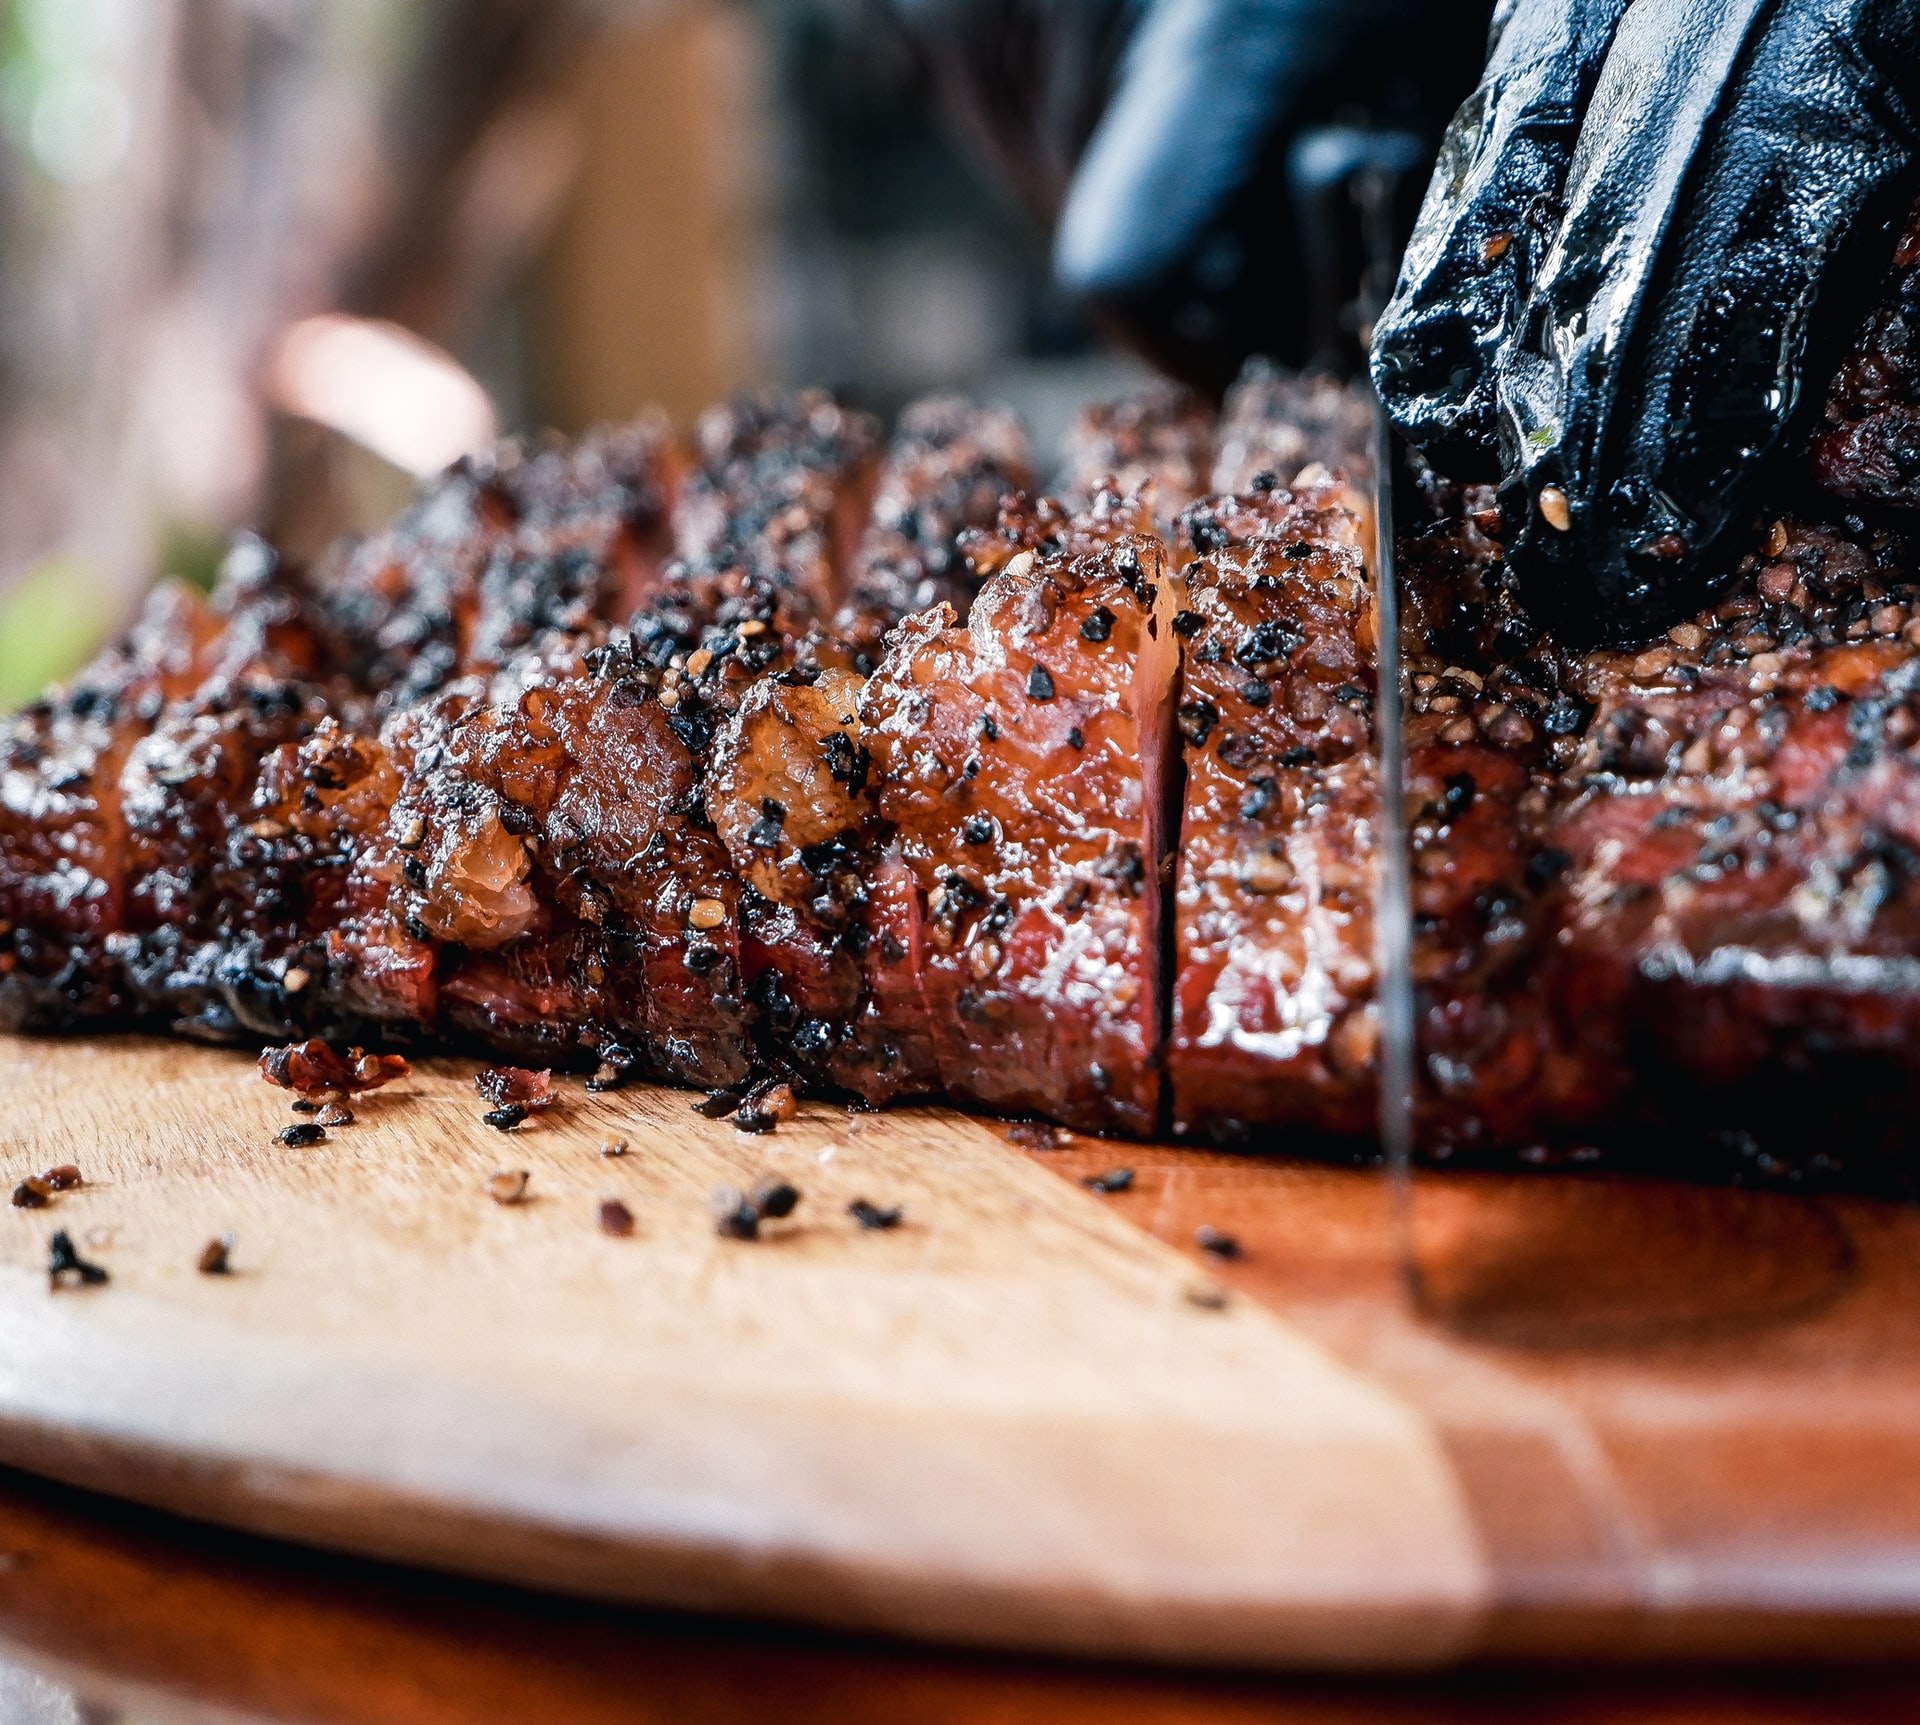
Freshly caught fish smoked not only preserves it well and kills bacteria, but it also gives it a wonderful flavor to anything from trout to snapper. There are some really great how-to books on smoking fish, meat, and cheese that will give you methods and timetables to smoke your food.
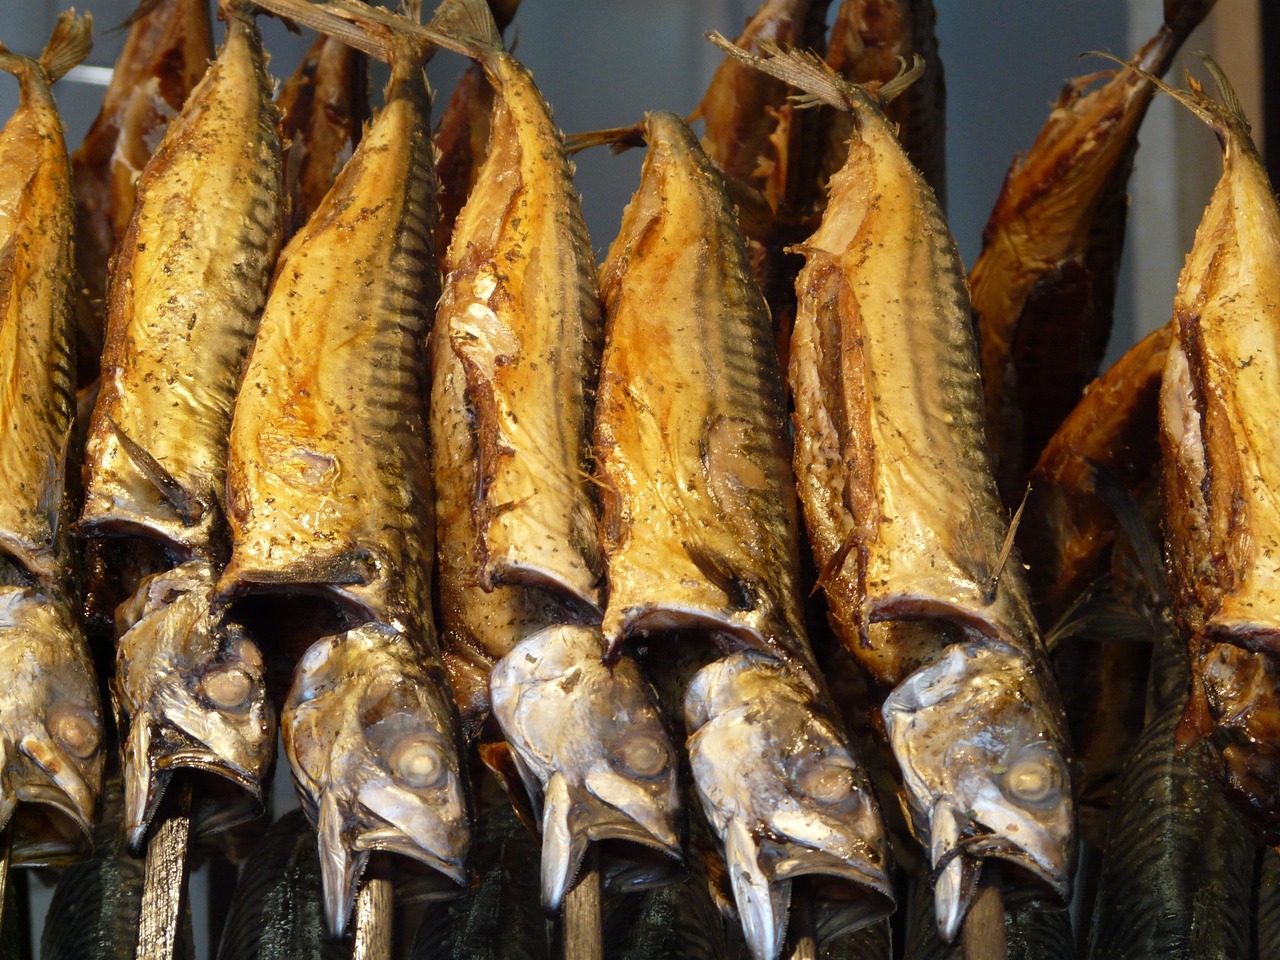
Smoking your own turkey, deer, or sausages lets you create some incredible food for your family and guests alike. We have friends that make their own sausages and then hang and smoke them to a delicate finish that can’t be duplicated by store-bought sausages. Once you have tasted the smoked food you have created from your backyard smokehouse you will be hooked on the whole process.
DIY Smokehouse Building Process
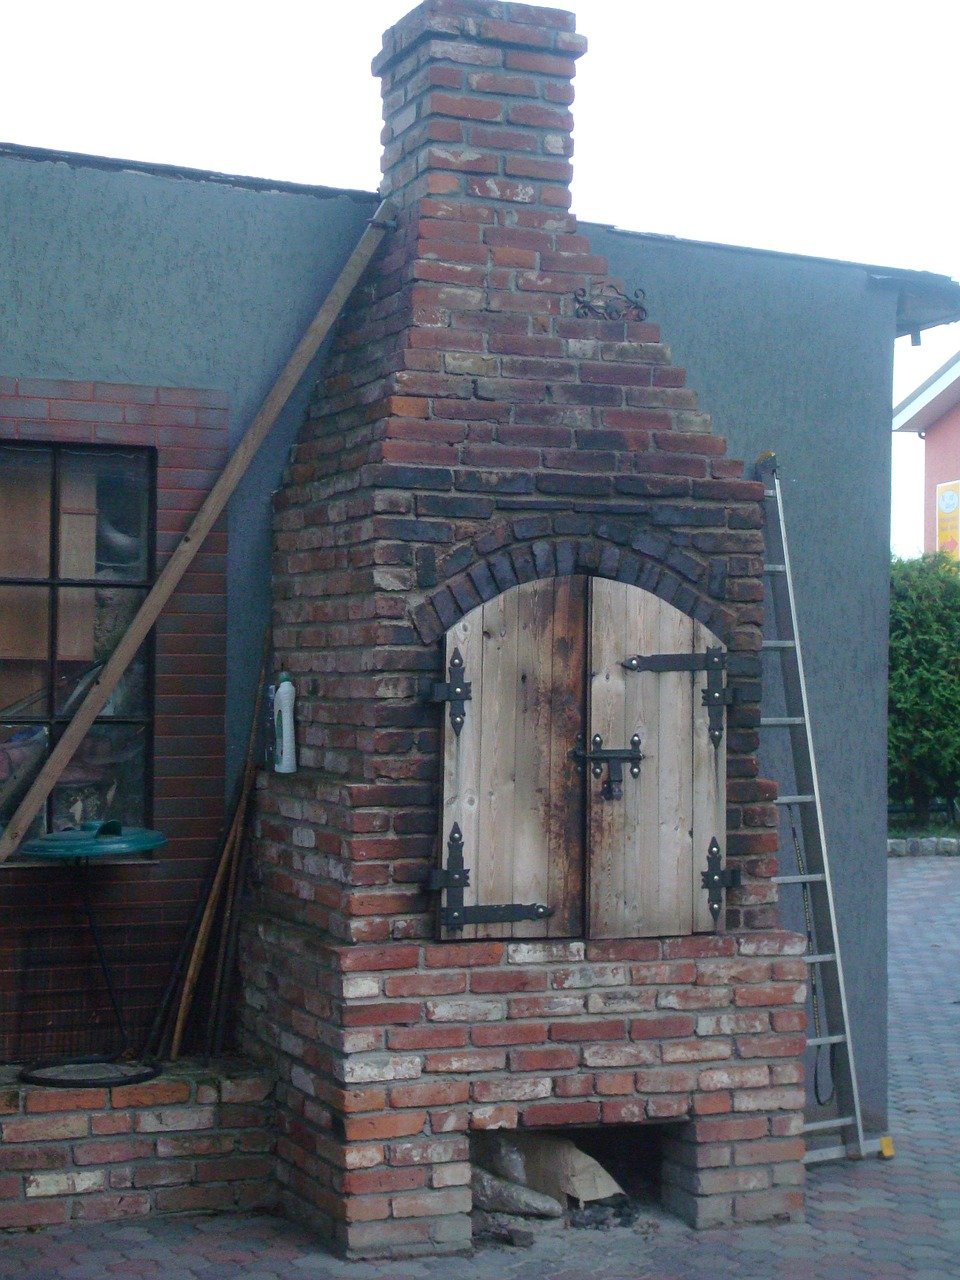
We are going to take you through the building process for a wood smokehouse. We list the materials below and you will need to figure amounts based on how large your firebox is and how large of a capacity you want for smoking your meat, fish, or cheese:
Materials:
- Bricks
- Mortar
- Stovepipe for tube and updraft pipe
- Cinder blocks
- Cast iron access door for the firebox
- Framing materials
- Whatever wood you choose to build your smokehouse with, cedar can be a good choice
- Pegs for holding drying racks in place
- Hanging hooks
- Closet poles and wood connectors
- Smoking racks
- Smoker thermometer
Many times traditional smokehouses are built on slopes so the firebox would be below the smokehouse, but since many people don’t live on a hill or slope we have given you directions so you can build your smokehouse nearly anywhere.
Process:
- Dig a trench between where you will build your firebox and smokehouse that is wide enough to accommodate a 4-inch stovepipe. Single wall stovepipe is very inexpensive.
- Attach a 45-degree connector to the end of your stovepipe at the end that will be in the center of your smokehouse.
- Attach a stovepipe at this juncture that will be tall enough to reach just below the base of your smokehouse.
- Create your cinderblock base for whatever size smokehouse you wish to build. Generally, you are looking for at least three tiers of cinderblocks to get enough height for the smoke to travel upward to your smokehouse.
- Building your firebox at the other end of the pipe is simple, just bricks and mortar. Decide what size of wood you want to fuel your smokehouse with, this will decide what size you want to build your firebox. Making your firebox so it can accommodate at least a 16″ piece of wood is a good idea so you aren’t always stoking your fire.
- Many people build movable vents into their fireboxes so that they can control the heat and with the aid of a good smoker thermometer and with practice you can get your technique down really well.
- Install the cast-iron access door to the front of the firebox once the mortar has dried.
- Frame your smokehouse on top of the finished and dried cinderblock foundation. Using Simpson fasteners meant for connecting wood to cement works well for attaching your framing to your cinderblock foundation.
- You can use closet poles and wood closet pole connectors for holding your hanging poles in place.
- Once your smokehouse and roof are framed attach the siding and roofing material of choice.
- Install your door on the front of the smokehouse so you can check on the progress of your smoked food.
- We like installing a single pane window in the door so we don’t have to open the smokehouse to see how our smoking project is progressing.
Cold Smoking & Hot Smoking
The smoker we have described building above is used for cold smoking since it has 2 chambers. But if you have a short pipe between your firebox and smokehouse you can use our smokehouse plans for both cold smoking, warm smoking, and hot smoking. Cold smoking is the temperature that doesn’t get above 80 degrees in the smokehouse, between 80 ad 150 is warm smoking, and between 150 and 300 degrees is considered hot smoking.
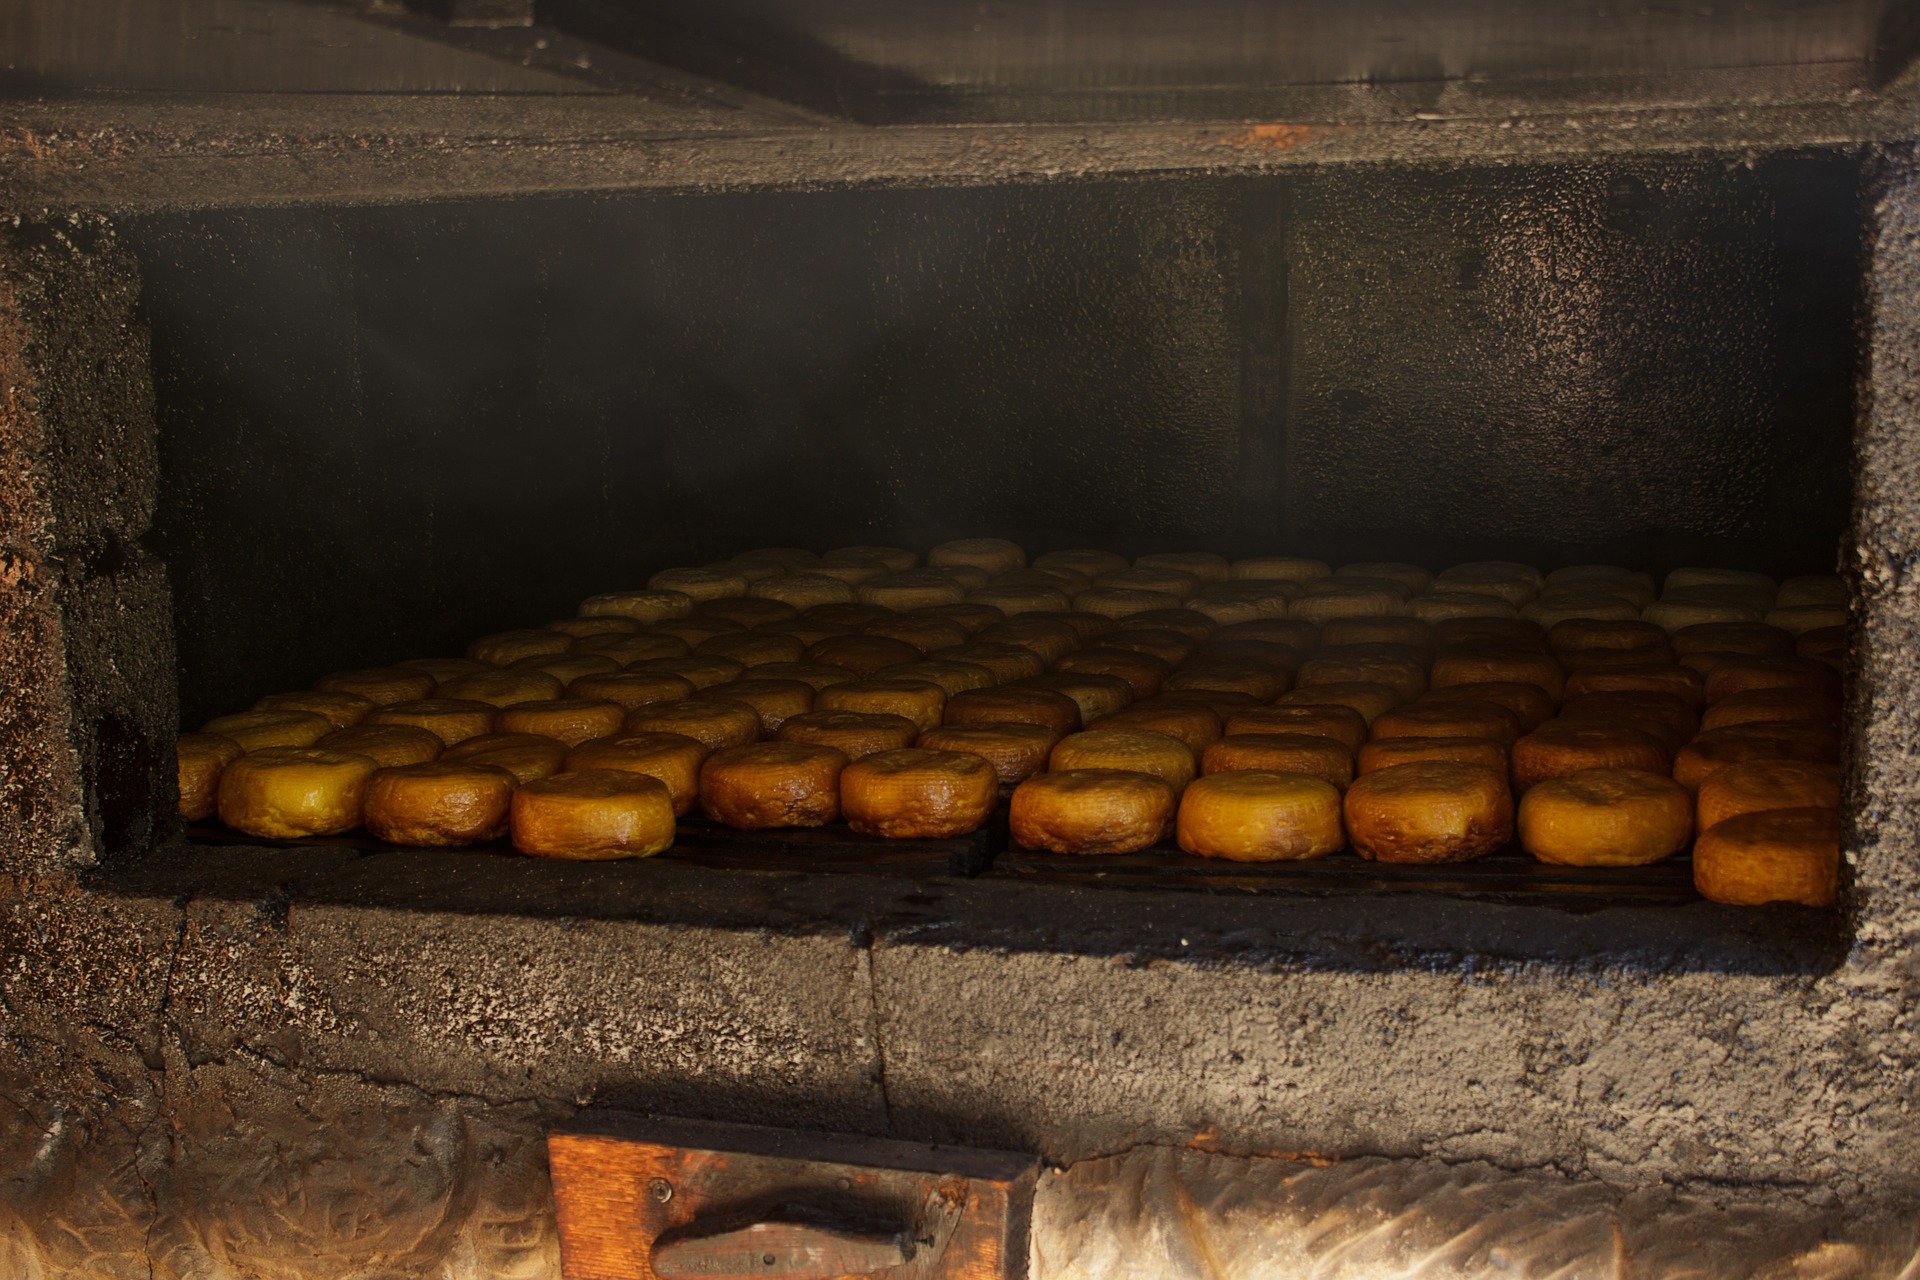
Let’s discuss the differences between cold smoking and hot smoking. Cold smoking is used to preserve food, the temperature doesn’t go above 80 degrees, meat must be cured first, and it can take days to complete the process. Cold smoking is great for fruit, nuts, and cheese for obvious reasons. You can use cold smoking for meats also you just need to make sure that the meat is cured already so you don’t have problems with bacteria. Just think of being able to preserve meat, fish, and chicken so they could last months, much the way our ancestors did before refrigeration.
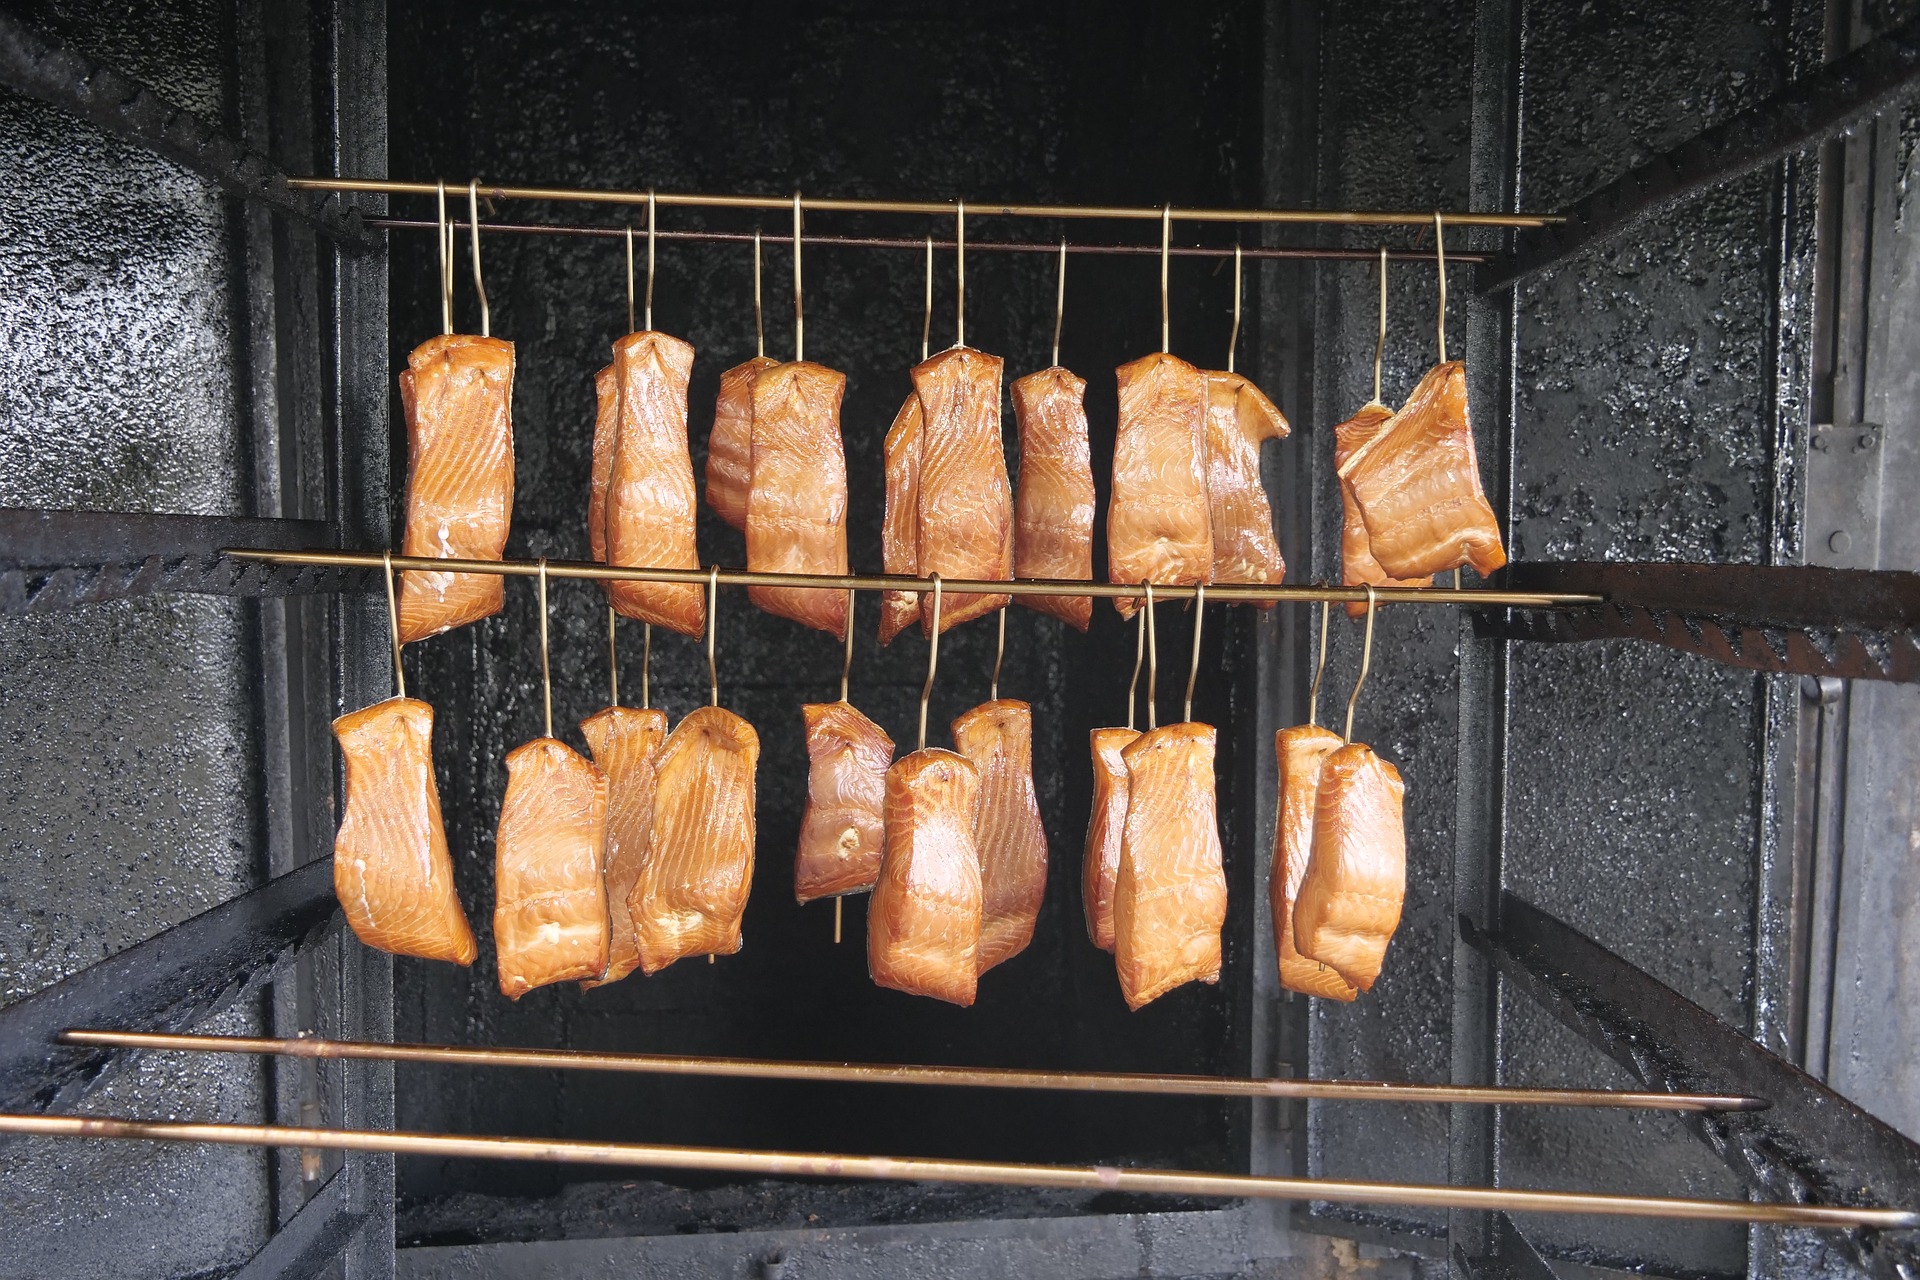
The purpose of the hot-smoking process is to cook the meat. When you hot smoke meat it is ready to eat. You can store it in the refrigerator for a few days, but most people want to dive in right away and eat what they have hot-smoked. Hot smoking takes the temperature of your smoker up to at least 140 degrees and can go up to 300 degrees. The usual temperature for hot smoking usually is around 140 degrees. When hot smoking you are partially or totally cooking the food you are smoking. The hot smoking temperature range is 140-300 degrees, used for foods that will be eaten right out of the smoker for immediate consumption, curing is not required and the smoking process usually finishes in a day or less.
At Shed Windows and More, we have doors, windows, hinges, and door handles that would work great for finishing your smokehouse as a great DIY family project to enjoy for years to come. We would love to see your finished backyard smokehouse designs, just email your photos to info@shedwindowsandmore.com.

